added links to images taken with each setup - click picture to go to images taken with that setup
DSI pro on Meade NGC-60 with .5 focal reducer
This is how the DSI pro was first used. There was no tracking by the mount, only slow motion controls to aim the scope. The target image was positioned so that it would drift through the field of view. The Meade software was used to align/stack while the target drifted through the field of view. When the target image was getting close to the edge of the field of view, the scope would be repositioned and another short stack of images would be taken. Later each of the short stacks would be aligned and stacked as one long image stack. Using the .5 focal reducer brought the scope to F3.5 (350mm). One second sub frames were used and that was just quick enough prevent much star trailing.
The DSI pro is sensitive enough that star fields and the cores of many objects were visible in the 1 second frames. That allowed using the NGC-60's slow motion controls to frame the object watching the screen in real time. I was able to find and image M42, M46, M81, M82, and a Direct TV satellite this way.
Click the picture above to see images with this setup.
ETX-70 optical tube and DSI pro on barn door tracker
In attempt to get some actual tracking of the target object. This was an exercise in stubbornness, the ETX is on a camera tripod ball swivel. The only thing that allowed us to get any images of the object we wanted, was visually aiming using the EXT's flip mirror. The scope had to be pointed a little off the target and then let the weight of the scope and camera rock back a little, after the ball swivel was tightened.
Click the picture above to see images with this setup.
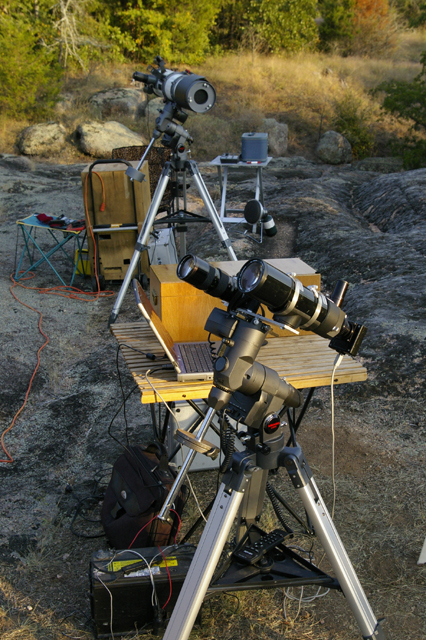
ETX-70 optical tube and DSI pro on a LXD-55 mount
This was the next night after the picture of the setup above. After having some success the previous night, we went back to town. Got the LXD-55 up and running with the same scope and camera, then headed back out to image some more.
The big scope in the background is Kevin's 25".
Click the picture above to see images with this setup.
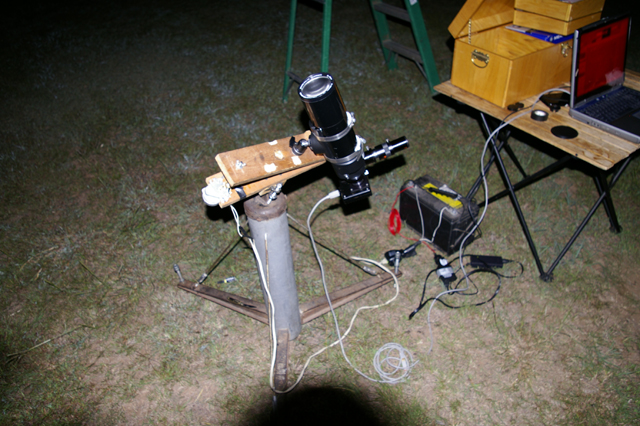
ETX-70 and DSI pro side by side with Pentax K100D DSLR
Cut an piece of aluminum plate to be a side by side mounting plate for the ETX and Pentax DSLR . This was an attempt to auto-guide the mount with the ETX/DSI pro for the DSLR (pulse guide through the mount hand controller).
This was truly a "field modification". Vise clamped on the trailer hitch of Tony's truck. Dennis using a hacksaw to cut the plate. Several mounting holes were drilled in the plate soon after. Then the flat plate was mounted on dovetail plate at 90 degrees. The ETX/DSI pro and DSLR were then mounted side by side on the flat plate.
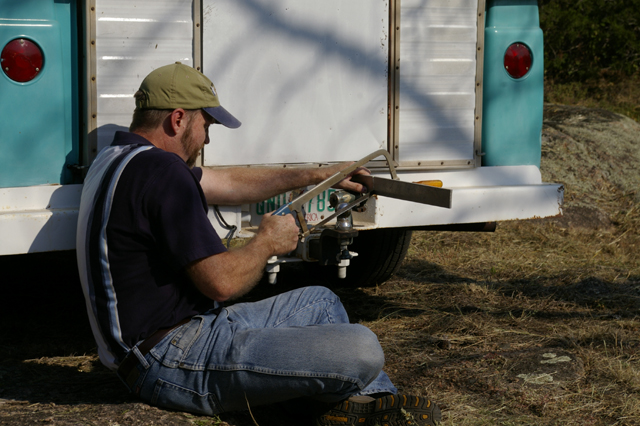
The auto-guiding didn't work well on this first attempt, which was due to the early version of firmware in the LXD-55's hand controller. It sort of guided but not accurate enough. That night ended up just non-guided imaging with both cameras at the same time. Imaged same target wider field with the DSLR and closer in with the ETX/DSI pro..
Mike's Meade 6" f/5 SN-6 AT on a LXD-55 is in the background.
Click the picture above to see images with this setup.
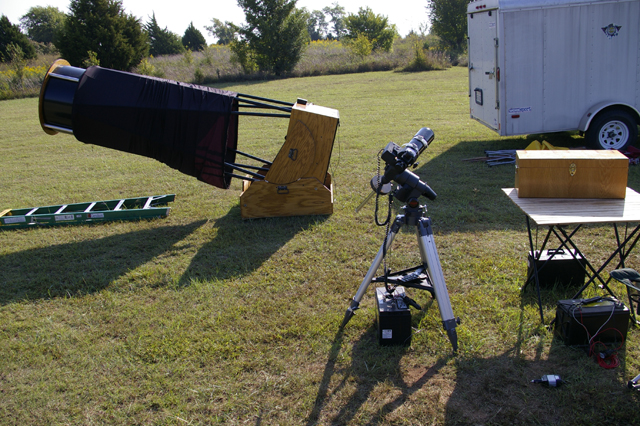
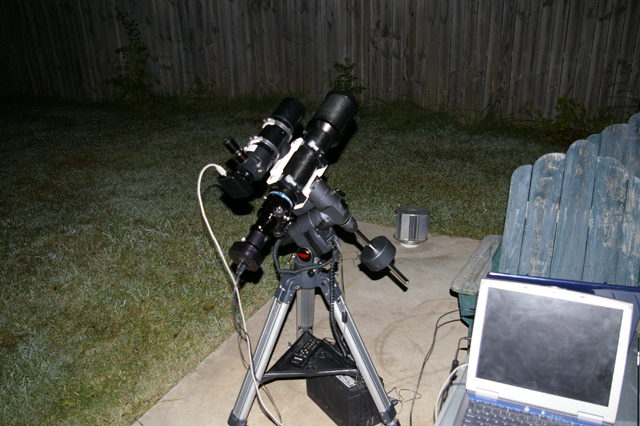
ETX-70 & DSI pro piggybacked on an Astro-Tech 80mm F7.0 & Orion StarShoot
We were getting enough good results with what we were using, that we got the AT-80mm APO triplet and updated the hand controller firmware.
The auto-guide issues were fixed with the later firmware. We've auto-guided the mount with the ETX/DSI pro using Meade Envisage and we've also used PHD guiding. We started using the Orion StarShoot color camera as the imaging camera. Now with the auto-guiding working and better optics for the imaging scope, we started getting even better results.
The picture below was taken the night we did 1st light for the AT-80mm.
Click the picture above to see images with this setup.
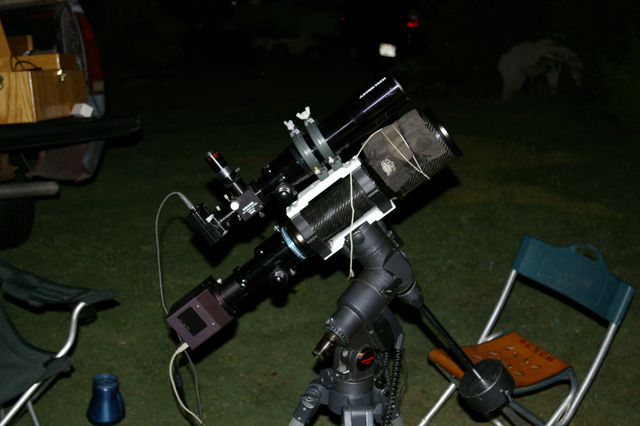
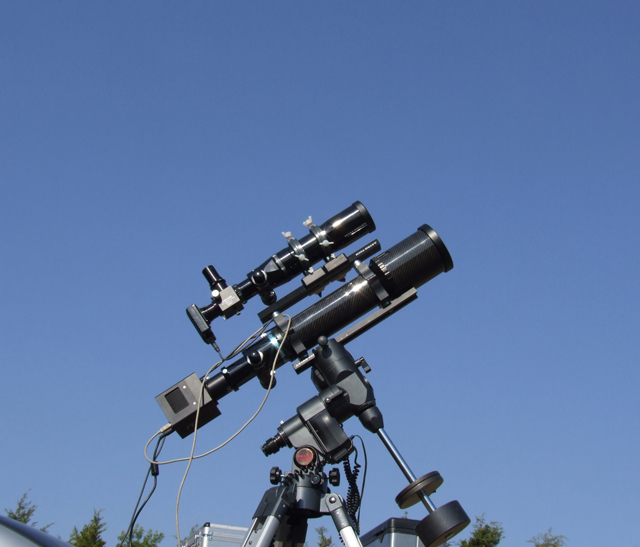
Astro-Tech 66mm F6.0 & DSI pro piggybacked on Astro-Tech 80mm F7.0 & FLI-8300C
The next setup change we made as adding the AT-66 in place of the ETX-70. At that time we still used the Orion StarShoot to image one shot color. We imaged through either scope using the other to guide with, depending on the field of view we wanted. The ETX flip mirror was such help that we added a flip mirror behind the AT-66.
Then Tony got a FLI-8300C and we started using that as the main imaging camera. Auto-guiding is still being done with the DSI pro. The FLI-8300C added enough weight that we had to add weight to the front of the setup for proper balance in the Dec axis. We have been using an ankle weight. It's not pretty but it works great (have guided an almost 3 hour run hands off). We've talked about using a longer dovetail, so we could balance easier.
The FLI-8300C has made another leap in the results we are getting.
Once we setup and align the system, we've been able to point and image from setting at a table in Kevin's trailer. We are running 16' of USB cable from our laptops in the trailer out to the cameras and the mount's hand controller. We sometimes split the tasks between two laptops (one of us running the imaging camera and one slewing the mount & running the auto-guiding). We can run the whole system with one laptop if we need to.
Click the picture above to see images with this setup.
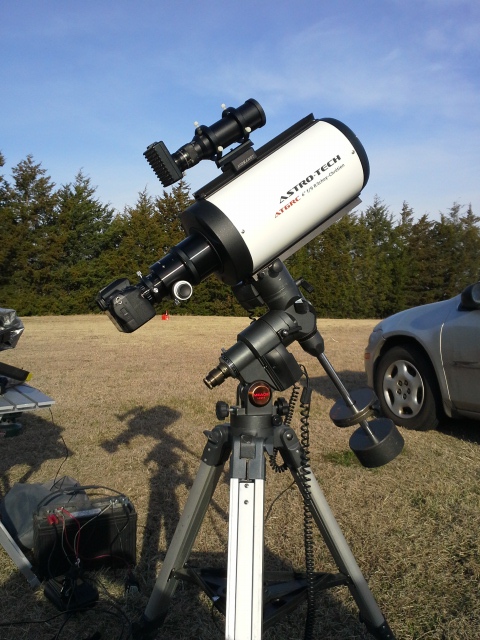
We got longer dovetails for sliding back and forth for balancing. That allowed us to do away with the ankle weight.
Got a AT50GS for the guide scope and a AT6RC. Here's that setup with the K5 DSLR as the imaging camera